Snapping and Alignment
Snapping to Align Objects
There are two kinds of targets you can use to align objects. The Snap Target (yellow arrow), and the Snap Source (green arrow). Use the Snap Target to mark a position in the scene to which you want another object moved or aligned. Use the Snap Source to specify a particular point on the selection to move to the Snap Target.
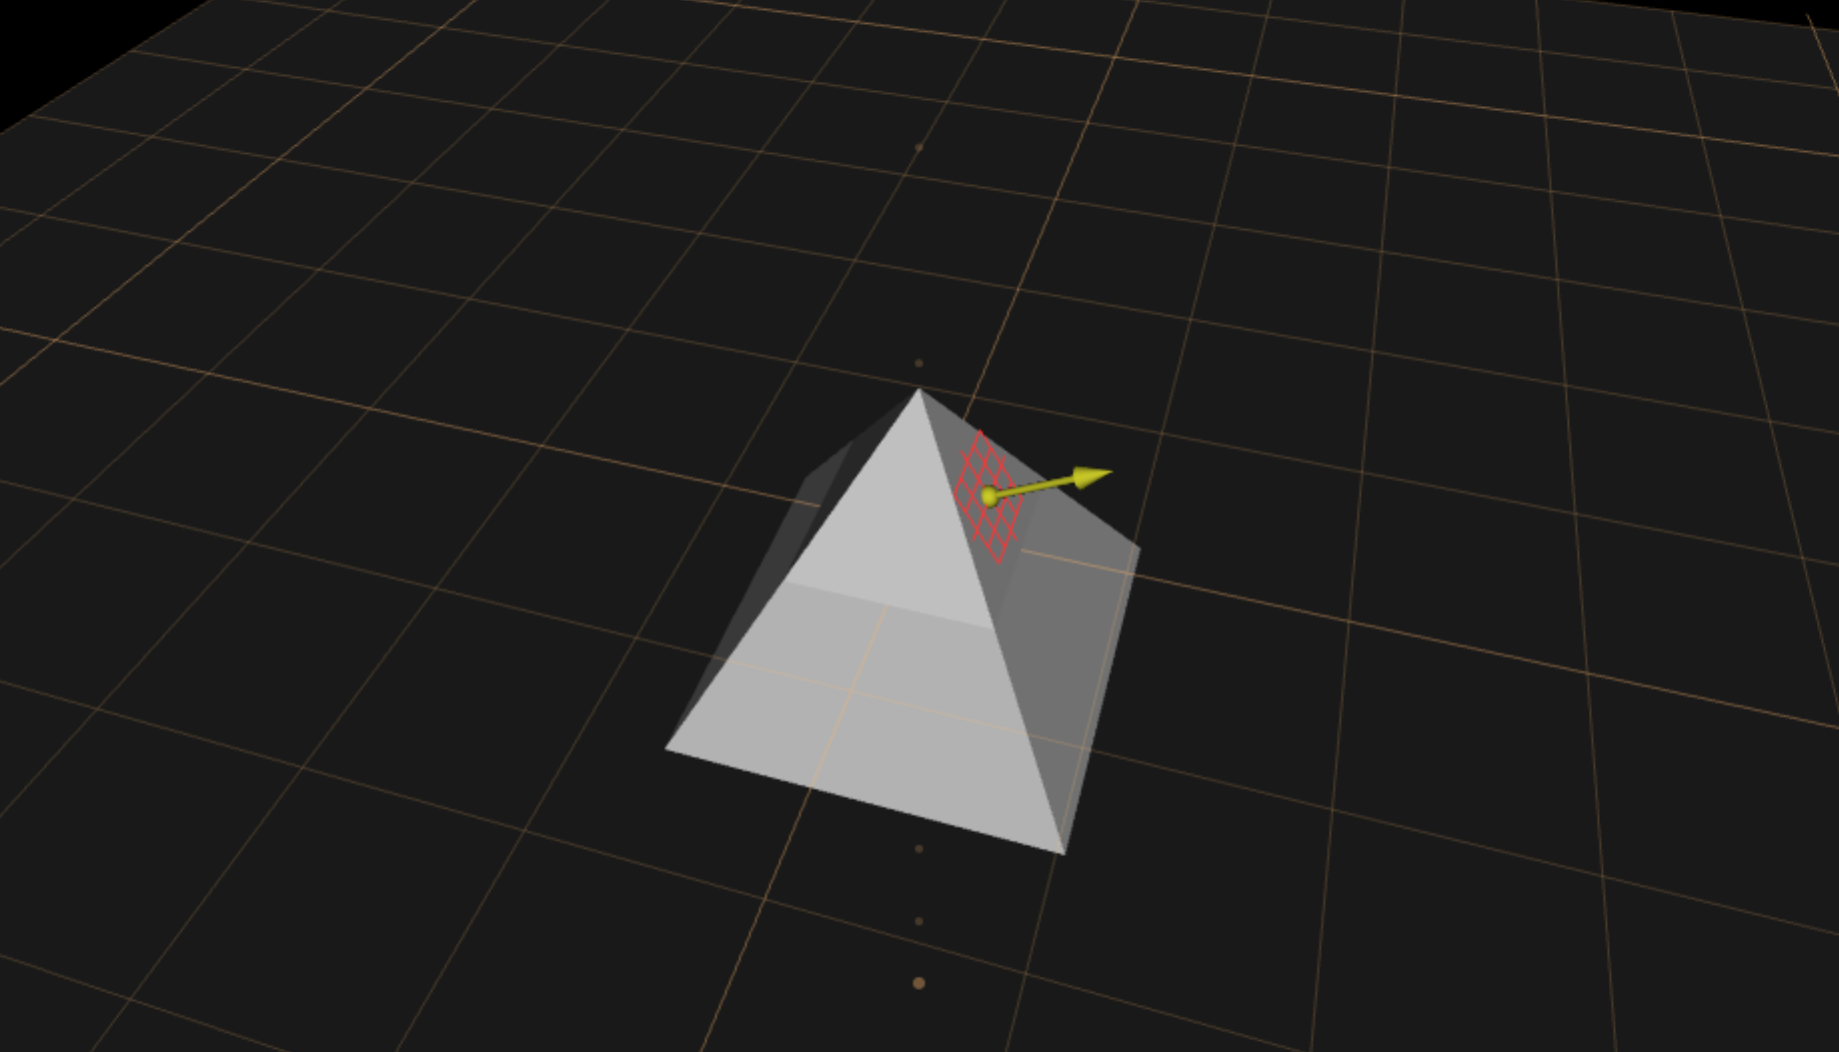
Snap Target
Uses for the Snap Target:
- Aligning two objects.
- Aligning an object to a grid.
- Quickly placing a cut or copied object.
Use for the Snap Source:
- Specifying a part on an object to align with the Snap Target.
Task Summary
- Activate and place the Snap Target and the Snap Source (if you decide to use it).
- Select the object you want to move to the target (click the object). Don’t forget this step! If you don’t select the object, it won’t move to the target. If the Snap Source is activated, it will move to the Snap Target without the object.
- Choose Layout > Move Selection to Snap Target or press Ctrl-or-Cmd+m to move the selected object to the target. You can also choose one of the other options under Layout; these include Center Snap Target in Selection and Move Selection Center to Snap Target.
- If you want, put away the Snap Target and Snap Source by rechoosing Layout > Activate Snap Target / Source or Shift and click the right mouse button over empty space to put away the Snap Target, and Shift+Alt-or-Option and click right over empty space to put away the Snap Source.
Activating and Placing
To activate and place the Snap Target and Snap Source:
- Choose Layout > Activate Snap Target or Layout > Activate Snap Source.
Other ways to place the Snap Target include:
- Shift and click right over an object’s surface or over its manipulator.
Other ways to place the Snap Source include:
- Shift+Alt-or-Option and click right over an object’s surface or over its manipulator.
- If necessary, reposition the Snap Target or Snap Source by dragging its arrow. If you have trouble getting the Snap Target to follow the cursor, try dragging while pressing the right mouse button and hold down Shift. This ensures that the target remains at the cursor and makes repositioning the target easier.
Tips
- You can place the Snap Target to align an object’s feature to the same plane as that of another. For example, suppose you have cube and a cone in your scene, and you’d like the cone’s bottom polygon to align in the same plane as that of the cube. Place the Snap Target on one of the cube’s polygons, then select and move the cone toward the cube until the Snap Target turns purple.
Snap Two Objects Together
Use Layout > Activate Snap Target:
Drag target to object. Select object to move, press Ctrl-or-Cmd+m to move selection to target, or choose Layout > Move Selection to Snap Target. Also choose Layout > Activate Snap Source to activate the Source snap target. Activate Layout > Grid Layout Tool - to scale to the same measurement as as other object. Good for making even walls or boxes.
Layout > Show Grid Tool Options in Panel – set tolerances for how close to the snap target the manipulator must be before snapping occurs. For example, adjust the rotation tolerance to a larger number to make snapping occur when the rotation is further from a 90 degree rotation increment.
Keys & Shortcuts
- Place yellow Snap Target = Shift and click right on object; also drag to place.
- Put away Snap Target = Shift and click right over background.
- Place green Snap Source = Shift+Alt-or-Option and click right; also drag to place.
- Put away Snap Source = Shift+Alt-or-Option and click right over background.
- Move selection to snap target = Ctrl-or-Cmd+m
- Move selection center to snap target = Shift+Ctrl-or-Cmd+m
Align to Grid
Activate Layout > Grid Layout Tool, Layout > Angle Grid Layout Tool or Layout > Axonometric Grid Layout Tool. Activate Layout > Show Grid Tool Options in Panel to adjust more grid related properties.
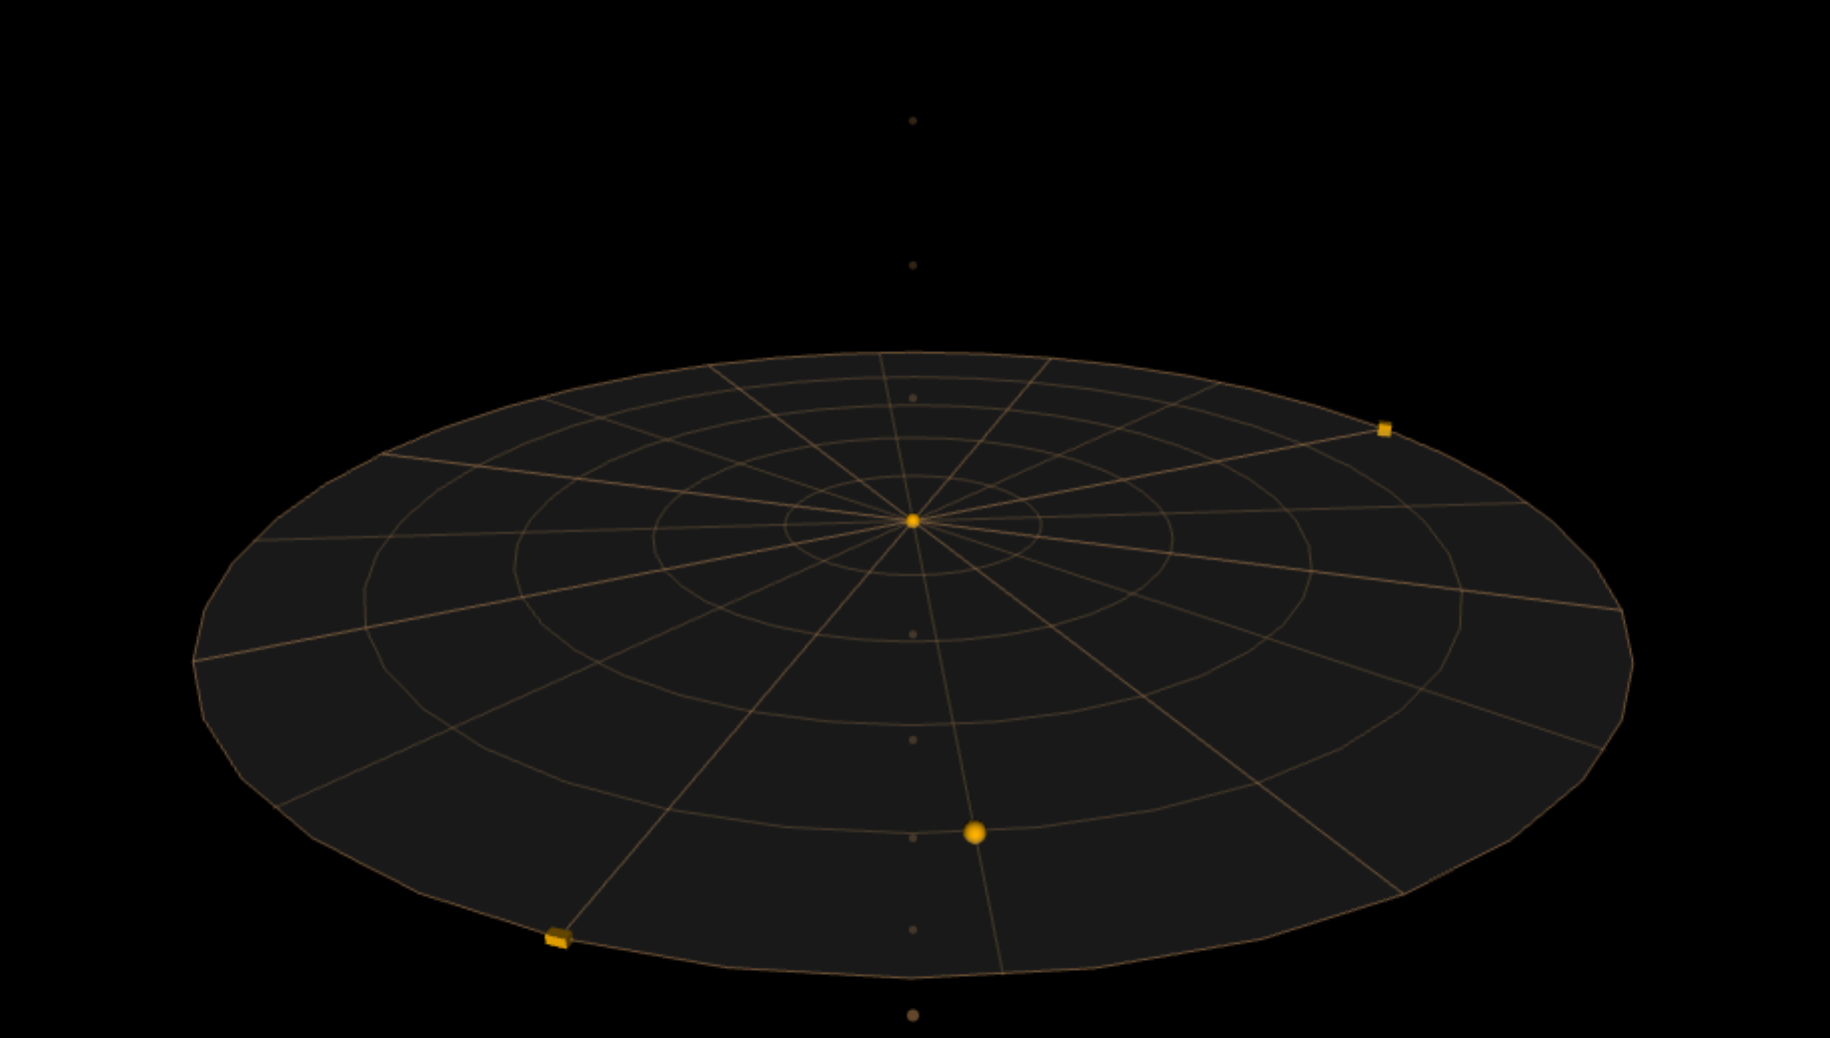
Angle Grid Layout Tool
Layout Tools
The Grid and Angle layout tools work essentially the same way; they provide regularly-spaced reference points for the Snap Target. When you place the target (or source) marker on a construction tool, it snaps to the reference points of the tool. For the Grid, these points are the intersection of the two perpendicular sets of lines. For the Angle tool, these points are the intersections of the rings with the spokes.
To lay out some objects along fixed grid points or along a circle, put the target in the correct spot on the appropriate layout tool and move each object to it.
Each tool has interactive handles for rotating, translating, and changing the layout:
- Drag the grid surface to translate it in the current plane. The Grid tool constrains this to translate in increments of the division size.