How to Use X_ITE With Electron
Embarking on your journey into Electron app development? It’s a great idea to be a bit familiar with Electron before you dive in. This foundational knowledge will help you get started smoothly and make your development process more efficient. Whether you’re new to Electron or simply need a refresher, exploring the Electron documentation can be a valuable first step on your path to creating amazing Electron applications.
Download Example
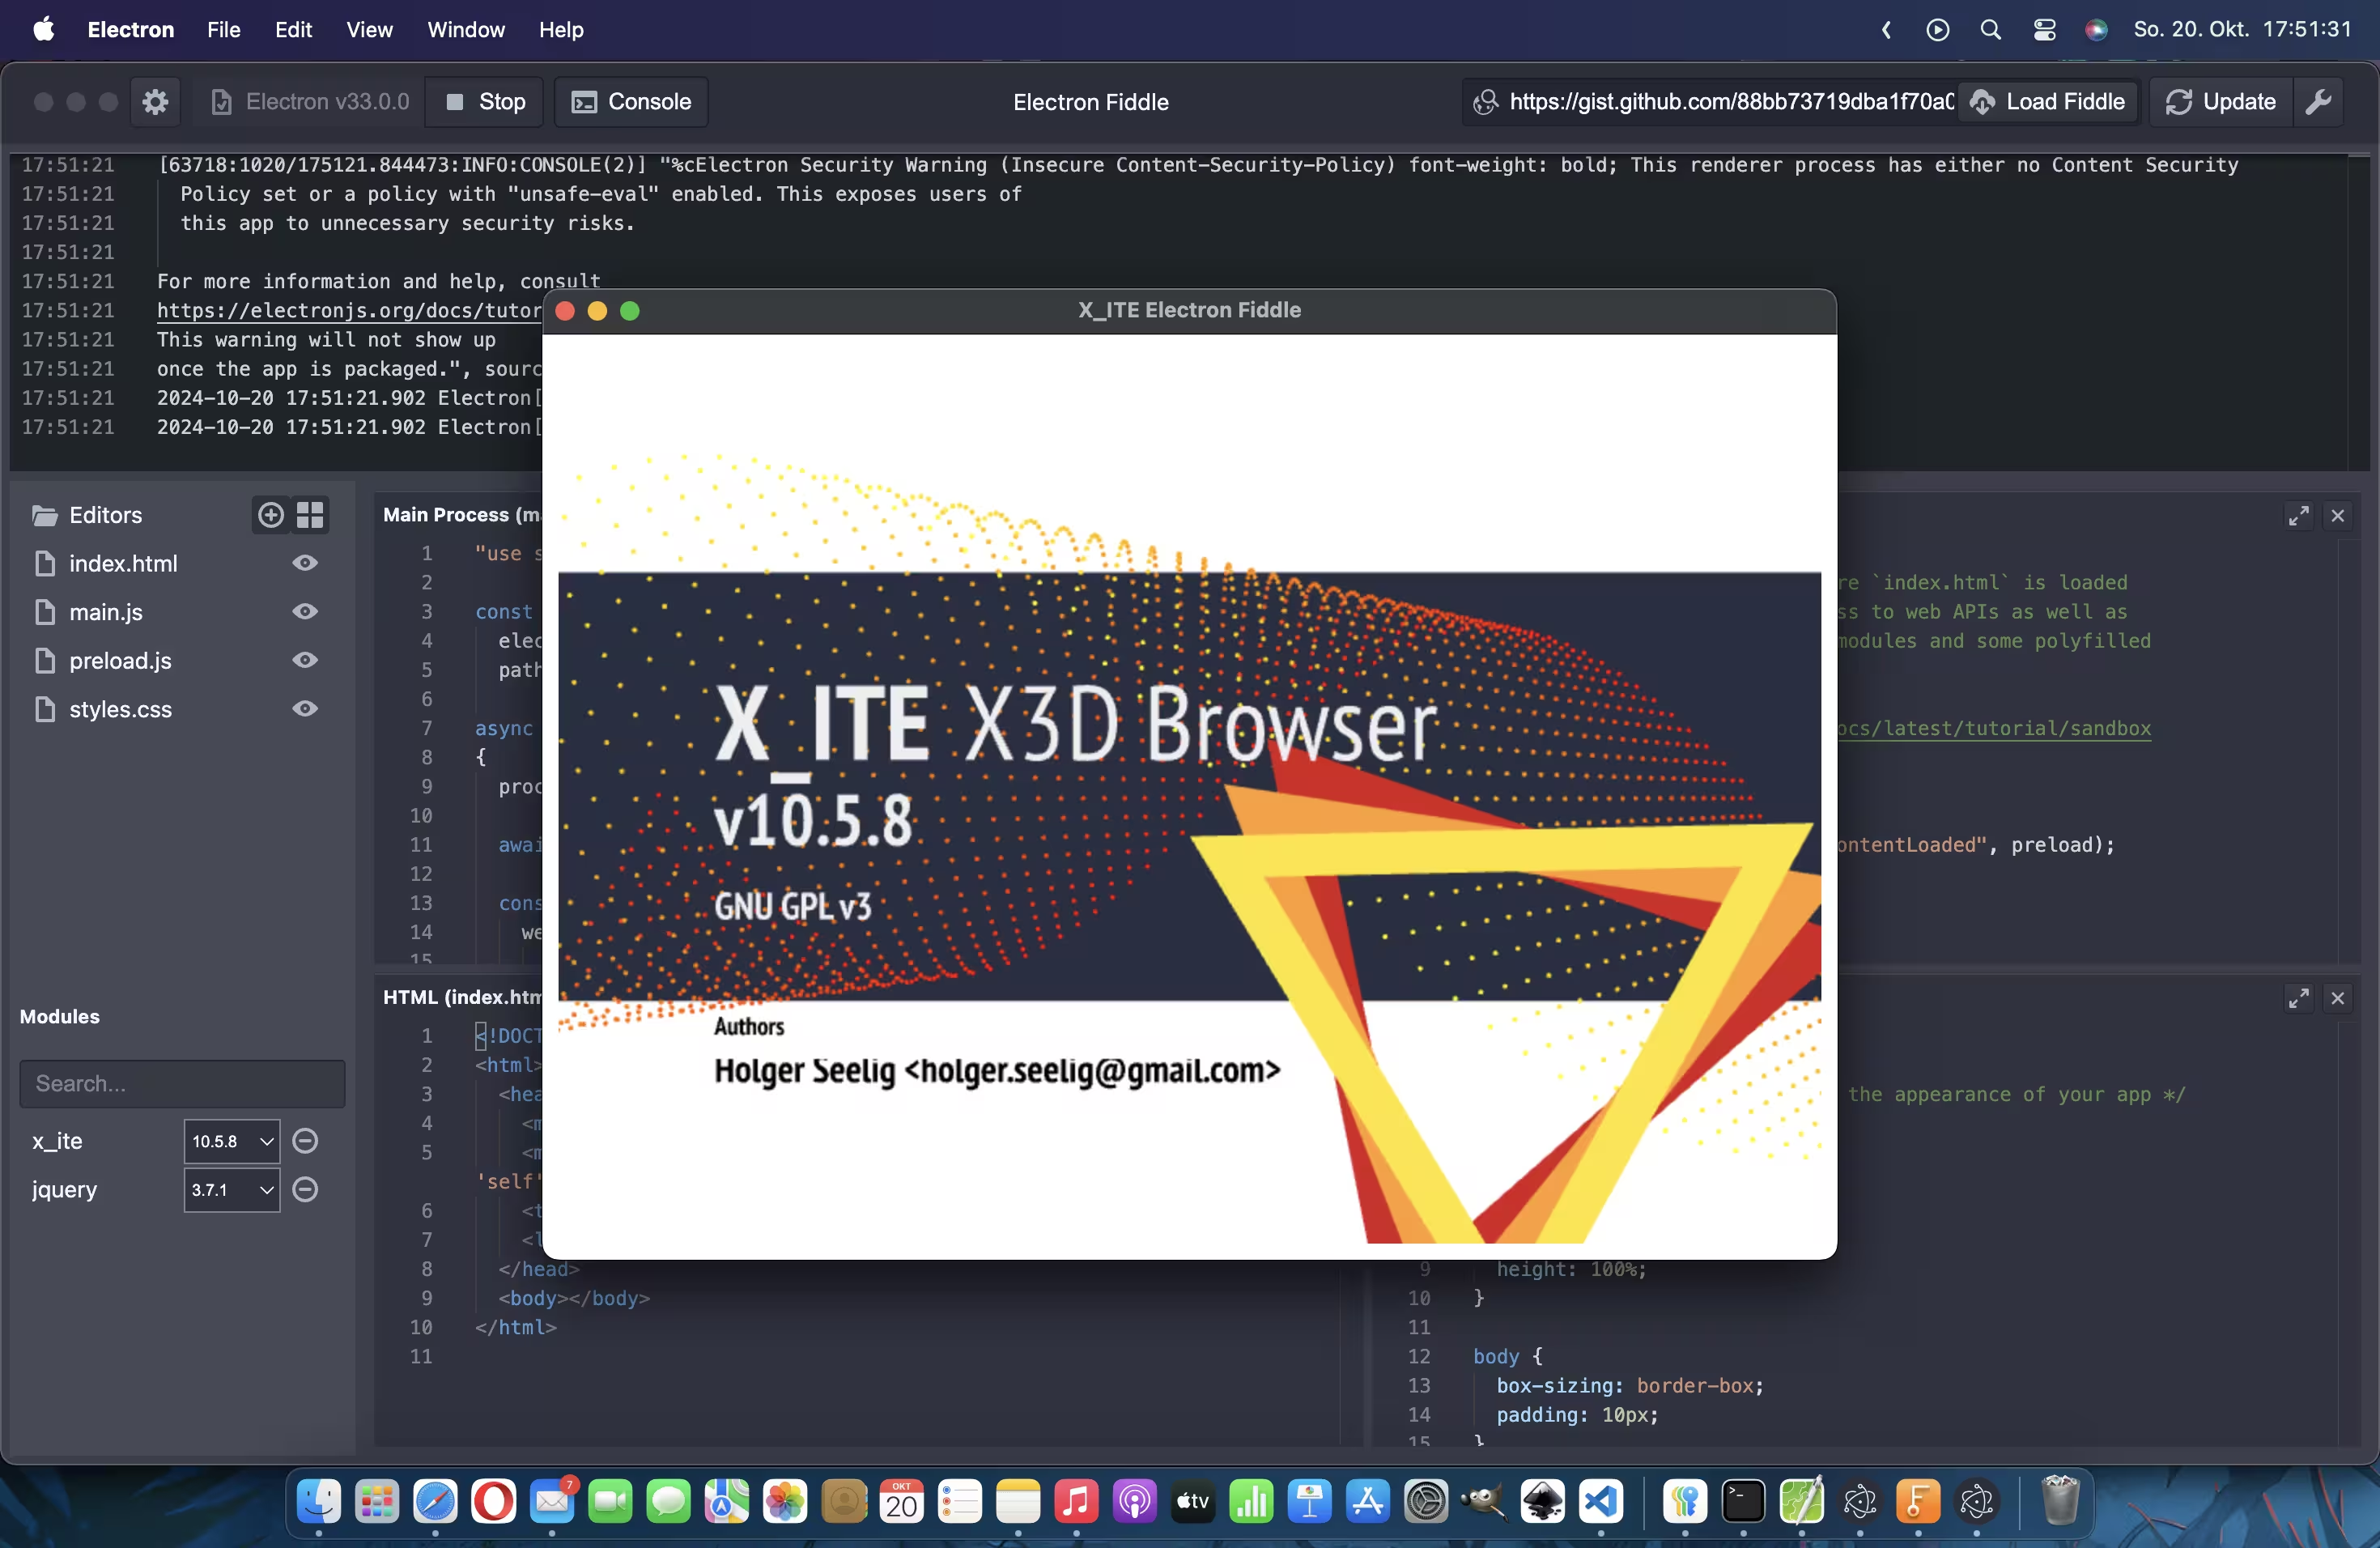
This example can be tested with Electron Fiddle using the following Fiddle from GitHub Gist:
1
https://gist.github.com/create3000/88bb73719dba1f70a0422d12d61db62f
What Files Are Needed?
To get started, there are at least 4 files needed to open an Electron window:
- app-folder
- main.js
- index.html
- preload.js
- styles.css
Let us now look at the individual files.
main.js
Main entry point, in this file all begins, we will open a BrowserWindow and reference two other files here.
1
2
3
4
5
6
7
8
9
10
11
12
13
14
15
16
17
18
19
20
21
22
23
24
"use strict";

const
  electron = require ("electron"),
  path     = require ("path");

async function main ()
{
  process .env .ELECTRON_ENABLE_LOGGING = 1;

  await electron .app .whenReady ();

  const window = new electron .BrowserWindow ({
    webPreferences: {
      preload: path .join (__dirname, "preload.js"),
      nodeIntegration: true,
      contextIsolation: false,
    },
  });

  window .loadFile (path .join (__dirname, "index.html"));
}

main ();
index.html
This is the HTML page, which will be displayed in your browser window.
1
2
3
4
5
6
7
8
9
10
<!DOCTYPE html>
<html>
  <head>
    <meta charset="utf-8"/>
    <meta http-equiv="Content-Security-Policy" content="default-src 'self' https://*; script-src 'self' 'unsafe-eval' https://*">
    <title>X_ITE Electron Fiddle</title>
    <link href="./styles.css" rel="stylesheet">
  </head>
  <body></body>
</html>
preload.js
The preload script runs before index.html is loaded in the renderer. It has access to web APIs as well as Electron’s renderer process modules and some polyfilled Node.js functions.
1
2
3
4
5
6
7
8
9
10
11
12
13
14
15
16
17
18
19
20
21
22
23
24
25
26
27
28
/**
 * The preload script runs before `index.html` is loaded
 * in the renderer. It has access to web APIs as well as
 * Electron's renderer process modules and some polyfilled
 * Node.js functions.
 *
 * https://www.electronjs.org/docs/latest/tutorial/sandbox
 */
"use strict";

window .addEventListener ("DOMContentLoaded", preload);

function preload ()
{
  const
    X3D = require ("x_ite"),
    $   = require ("jquery");

  /// Do something with window, document and X3D.

  const
    canvas  = document .createElement ("x3d-canvas"),
    browser = canvas .browser;

  $("body") .append (canvas);

  browser .loadURL (new X3D .MFString ("https://create3000.github.io/media/x_ite/info/info.x3d"));
}
styles.css
Styles for index.html
1
2
3
4
5
6
7
8
9
10
11
12
13
14
15
/* styles.css */

/* Add styles here to customize the appearance of your app */

html, body, x3d-canvas {
  margin: 0;
  padding: 0;
  width: 100%;
  height: 100%;
}

body {
  box-sizing: border-box;
  padding: 10px;
}
